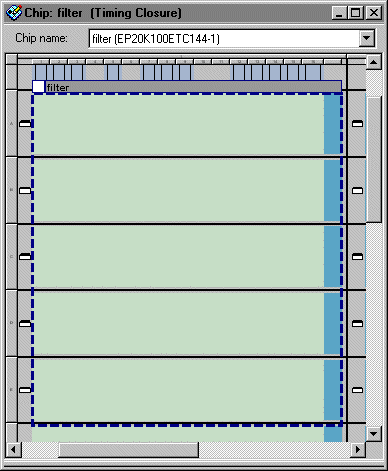
Choose Timing Closure Floorplan (Assignments menu). The Timing Closure floorplan appears.
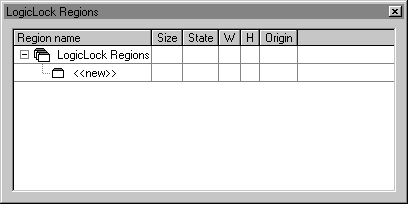
Choose LogicLock Regions Window (Assignments menu). The LogicLock Regions window appears.
| You can undock the LogicLock Regions window at any time by clicking anywhere on the window and turning off Enable Docking (right button pop-up menu). |

To create a parent LogicLock region, double-click the <<new>> cell in the Region name column. An editable text box appears in the cell.
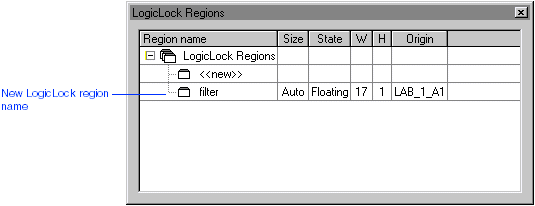
To name the LogicLock region, type filter in the text box and press Enter. A LogicLock region of default size and state appears in the LogicLock Regions window and in the Timing Closure floorplan.

In the LogicLock Regions window, double-click the folder icon next to the filter LogicLock region name. The Contents tab of the LogicLock Region Properties dialog box appears automatically.
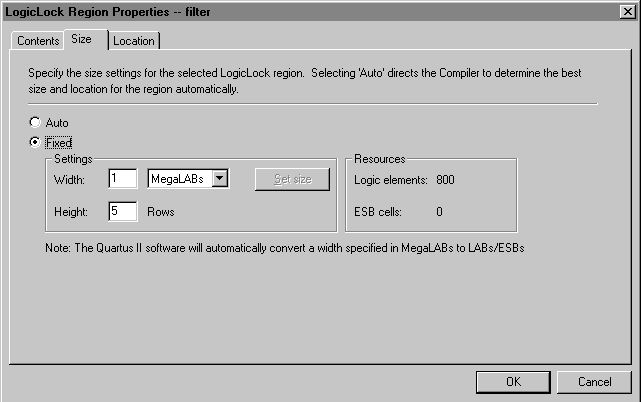
Click the Size tab.
To specify that filter is a fixed size LogicLock region, select Fixed in the Size tab.
Under Settings, make sure 1 is specified in the Width box and that MegaLABs is selected in the list.
Under Settings, type 5 in the Height box.
Click Set size.

Click the Location tab.
Under State, make sure Floating is selected.
Click OK. The filter fixed size, floating state, parent LogicLock region appears in the LogicLock Regions window and Timing Closure floorplan as defined.

