Click the Symbol Tool button ![]() on the toolbar. The same Symbol dialog box that you used to enter the
on the toolbar. The same Symbol dialog box that you used to enter the DFF, DFFE, and mult symbols appears. Note, however, that using the toolbar button opens this dialog box with the Repeat-insert mode option turned on.
| When Repeat-insert mode is turned on, an outline of the selected symbol remains attached to the pointer, regardless of how many times you click the mouse pointer, allowing you to place multiple copies of the symbol easily. Whenever you want to stop placing copies of a symbol, you can press Esc or choose Cancel (right button pop-up menu). |
In the Symbol dialog box, in the Libraries list, click the + icon to expand the d:\quartus\libraries folder, expand the primitives folder, and then expand the pin folder.
In the pin folder, select the input primitive.
Click OK.
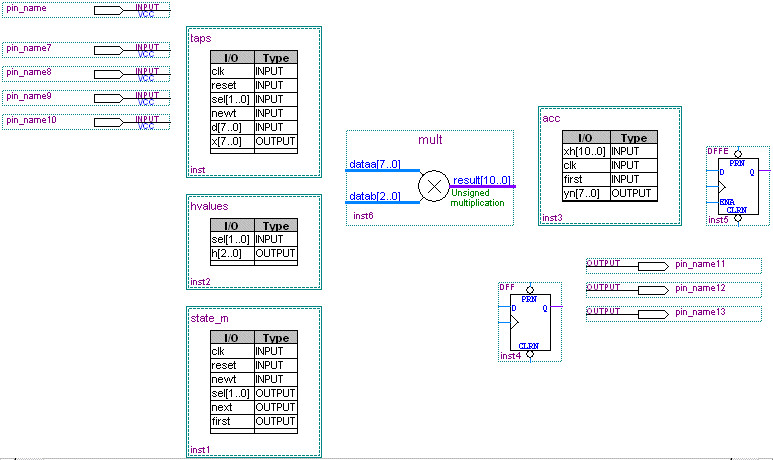
Click an empty space in the BDF five times to insert a total of five INPUT symbols on the left-hand side of the file. Symbols are automatically named as pin_name<number> in sequence. Press Esc.
Repeat steps 1 to 5 to insert and position a total of three OUTPUT symbols on the right-hand side of the file.

Choose Save (File menu).